

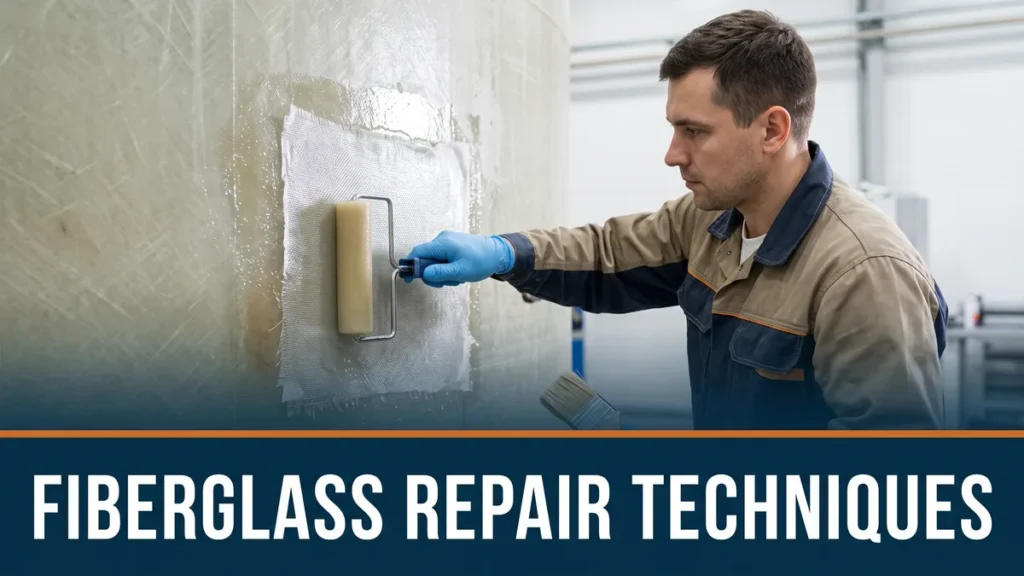
A cracked tank wall or a delaminating panel does not always mean the part is scrap. Most damage to fiberglass reinforced plastic is repairable, and the right fiberglass repair techniques restore full strength when they match the failure. The core methods are the same across industries: grind out the damage, rebuild the laminate with compatible resin and glass, then restore the surface. What changes is scale, resin, and how much load the repair has to carry. For structural work, the repair should mirror the original FRP hand lay-up construction as closely as possible.
This guide walks the repairs an industrial shop actually performs, on tanks, ducting, marine hulls, and machine housings, not a driveway patch kit. Get the prep and the resin right and the repaired section can outlast the rest of the part. Get them wrong and it fails at the bond line within a season.
In this article
First, diagnose the damage
Every good repair starts with an honest look at what failed. A surface scratch in the gel coat is cosmetic. A star crack with white stress lines radiating out means the laminate underneath took an impact. A soft, spongy, or hollow-sounding spot means delamination, where the layers of glass have separated and the part has lost its structural grip.
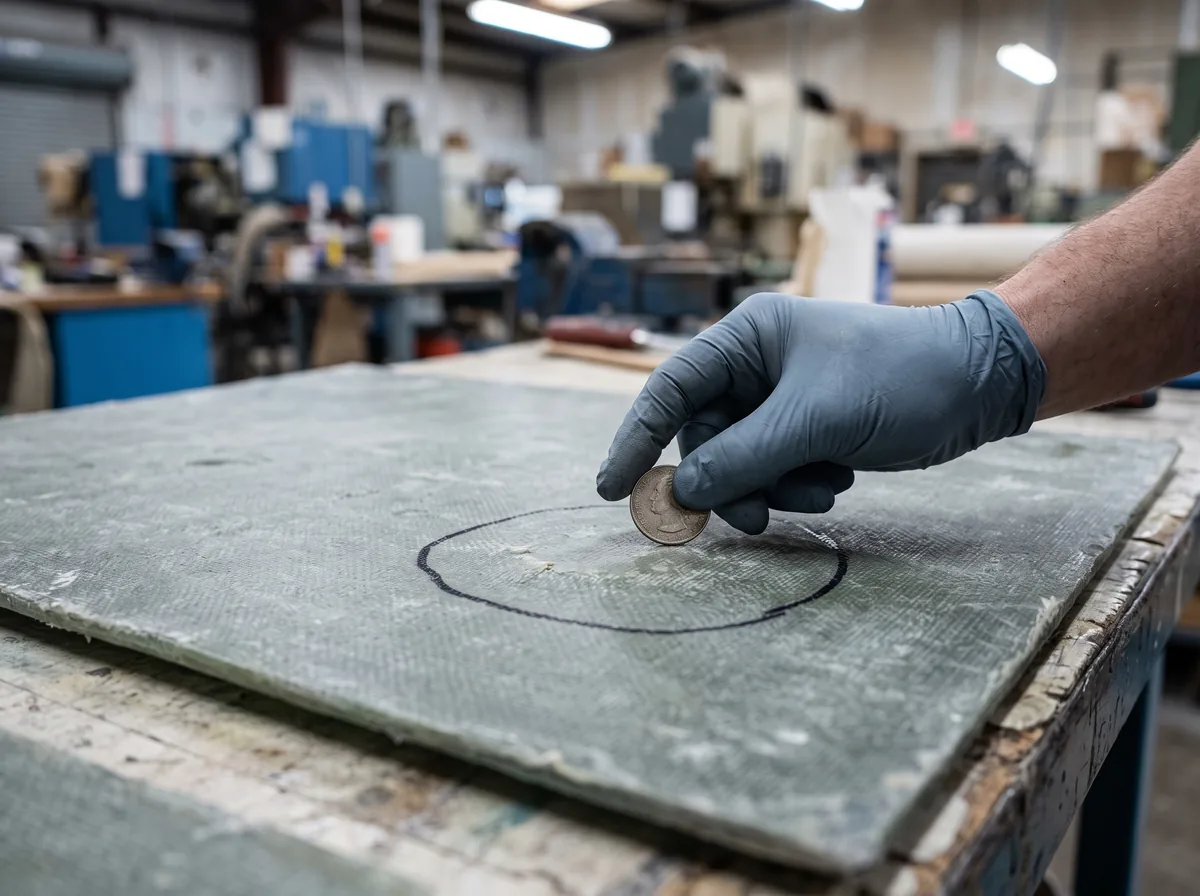
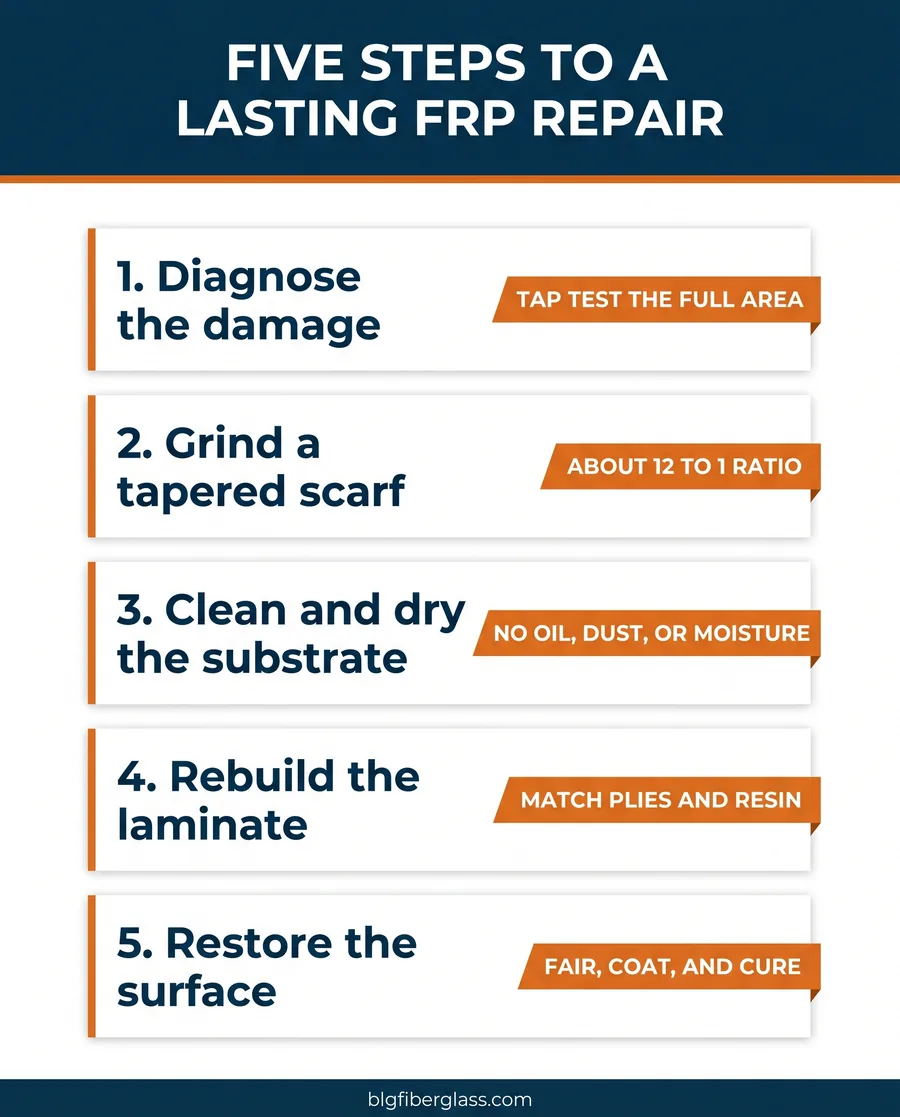
Tap testing tells you more than looks. A cured laminate rings sharp when you tap it with a coin and thuds dull where it has delaminated or holds trapped water. Map the dull zones before you touch a grinder, because the repair has to reach past the visible damage to sound laminate on every side. Miss the edge of a delamination and you have simply capped the problem.
People often ask: is delaminated fiberglass worth repairing?
Usually yes. Delamination is one of the most common and most repairable fiberglass failures. The fix is to remove the separated layers, dry the substrate, and rebuild the laminate with fresh resin and glass bonded to sound material. The exception is when delamination is widespread across a load-bearing part, at which point rebuilding the section or the part is often cheaper and safer than chasing pockets of separation one at a time.
Surface prep decides everything
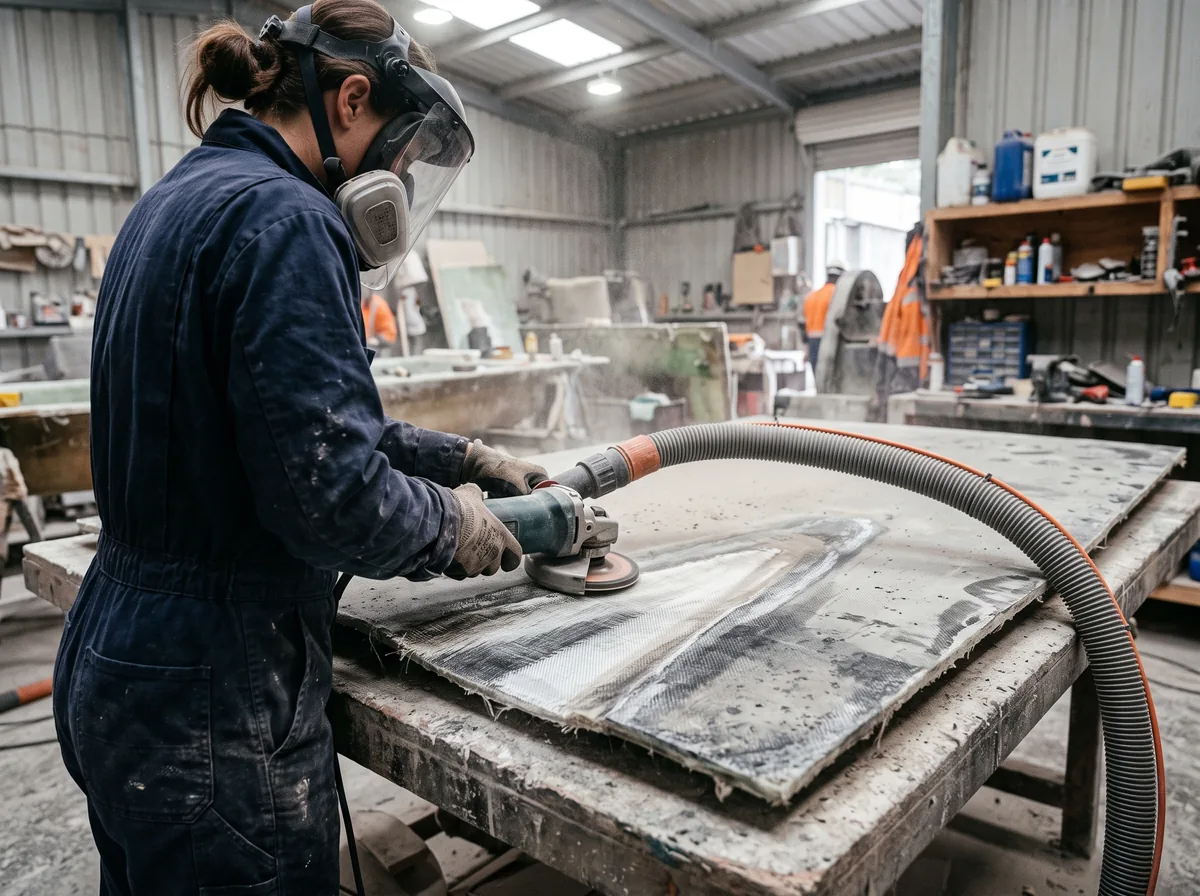
Ask any fabricator why a repair failed and the answer is almost always prep. Fiberglass repairs bond mechanically to a roughened, clean surface. Skip the grinding and the patch is sitting on a smooth, contaminated shell it can never grip. That is why professional repairs grind the damage into a wide, shallow taper rather than a steep-sided hole.
The taper, sometimes called a scarf, spreads the load across many layers of overlap instead of stacking it at one weak edge. A common rule is a taper ratio around 12 to 1, so a laminate an eighth of an inch thick gets ground back about an inch and a half on each side. Then everything gets cleaned of dust, oil, and moisture, because a trapped contaminant or a damp substrate will undermine even a perfect laminate.
Pro tip
Dry the substrate before you laminate, especially on marine and tank repairs. Fiberglass wicks water into a delamination, and resin will not bond to a wet surface. A day of warm-air drying or a moisture meter check before repair saves a patch that would otherwise blister and let go within months.
Core fiberglass repair techniques
The techniques below are a general overview for context. Fiberglass repair involves resins, hardeners, styrene vapour, and airborne glass dust, and structural repairs affect the safety of the part. BLG Fiberglass is not liable for outcomes from work attempted based on this article. For any pressure vessel, load-bearing, or safety-critical repair, use a qualified composites shop and follow every product safety data sheet.
Most industrial repairs are a variation on a handful of proven methods. Which one you reach for depends on the damage type and how much structure the section carries.
- Scarf and laminate repair. Grind a tapered scarf, then rebuild with successive layers of glass and resin, largest ply first or last depending on the method, to restore the original laminate schedule. This is the go-to for through-cracks and holes.
- Delamination injection and re-bond. For separated layers that are otherwise intact, inject low-viscosity resin into the void and clamp or vacuum the layers back together, rebonding without removing sound material.
- Structural patch with core rebuild. When damage reaches a foam or balsa core, cut back to dry sound core, replace the core, then re-laminate the skins so the sandwich carries load again.
- Gel coat and surface repair. For cosmetic cracks and chips, grind out the crack, fill with matching gel coat or filler, then fair and polish. This restores the barrier without touching the structural laminate.
- Wet lay-up over-lamination. For large corroded or worn areas, add fresh laminate over a prepped surface to rebuild thickness and chemical resistance, common on tanks and ducting.
Did you know
The strongest repairs rebuild the laminate in the same fiber orientation as the original part. Glass is directional, so a patch laid with its weave running the wrong way can be far weaker than the surrounding material even when it looks thick enough. Matching ply orientation is one of the quiet differences between a shop repair and a field patch.
Choosing the repair resin
The resin makes or breaks a repair. As a rule, epoxy bonds to cured laminate better than polyester, which is why many structural repairs use epoxy even on a polyester part. Where the part sees constant chemical or water exposure, vinyl ester earns its place. The table below maps common repair situations to a sensible resin starting point.
| Repair situation | Typical resin | Why |
|---|---|---|
| Structural crack or hole | Epoxy | Strongest secondary bond to cured laminate |
| Corrosion tank or ducting | Vinyl ester | Chemical and water resistance |
| Marine hull below waterline | Epoxy | Waterproof bond, low shrinkage |
| Cosmetic gel coat crack | Polyester gel coat | Matches original finish and colour |
| Large non-structural over-lam | Polyester or vinyl ester | Cost-effective for big areas |
Resin recommendations above are general starting points, not a specification. The correct resin depends on the original laminate, service environment, and load. Confirm compatibility and cure data against the product data sheet, and have structural repairs reviewed by a qualified engineer before returning the part to service.
Save your money
The better option between repair and replacement depends on the damage, inspection results, downtime, engineering needs, and replacement costs. While repairing a large custom tank, housing, or hull can save on the tooling and lead time of a new build, the trap is a cheap patch that fails and has to be redone, sometimes after damaging surrounding material. Pay once for the right repair rather than twice for a shortcut.
Industrial applications and their quirks
The method stays consistent, but each industry adds its own wrinkle. On corrosion tanks and ducting, the repair has to restore the chemical barrier as well as the structure, so resin choice and a proper corrosion liner matter as much as strength. On marine hulls, water intrusion and osmotic blistering complicate prep, and drying time is not optional. On automotive and machine housings, dimensional accuracy and finish quality drive the work, since the repaired panel has to fit and look right.
That is the case for keeping serious repairs in a shop. A fabricator that builds these parts already knows the laminate schedule, the resin system, and the finish, which is exactly what a repair needs to match. For an overview of composite repair standards and best practice, the American Composites Manufacturers Association is a recognized industry authority, and workplace exposure limits for the styrene in these resins are set out in the OSHA styrene standards.
Red flag: a patch over hidden damage
If a repair looks fine on the surface but the part still flexes, sounds dull when tapped, or shows a returning crack, the damage was never fully removed. Laminating over unsound material simply hides the failure until it spreads. Any repair that does not reach sound laminate on every side is a temporary cover, not a fix.
Where a shop repair beats a field patch
A small cosmetic chip is fair game for a careful hands-on repair. Structural damage, pressure vessels, and anything carrying load are a different matter. A field patch that looks solid can still be well below the original strength if the taper, ply orientation, resin, or cure was off, and on an industrial part that gap is a safety problem, not a cosmetic one. When the part has to hold pressure, carry load, or resist chemicals, the controlled conditions of a shop are what turn a patch into a repair you can trust.
Download the free quick guide
A one-page reference on diagnosing FRP damage, prepping the surface, and choosing the right repair resin.
Frequently Asked Questions
Got a cracked tank, a delaminating panel, or a worn FRP housing you would rather repair than replace? BLG Fiberglass repairs and fabricates custom composite parts for oil and gas, marine, and industrial clients across Canada and the USA, matching the repair to the original laminate and service environment. Send us photos of the damage and we will tell you whether a repair or a rebuild is the smarter move.
If you are comparing fiberglass manufacturers for a US order, BLG handles the customs paperwork, duty treatment and freight into the US.
